Selecting the Best Materials for Durability
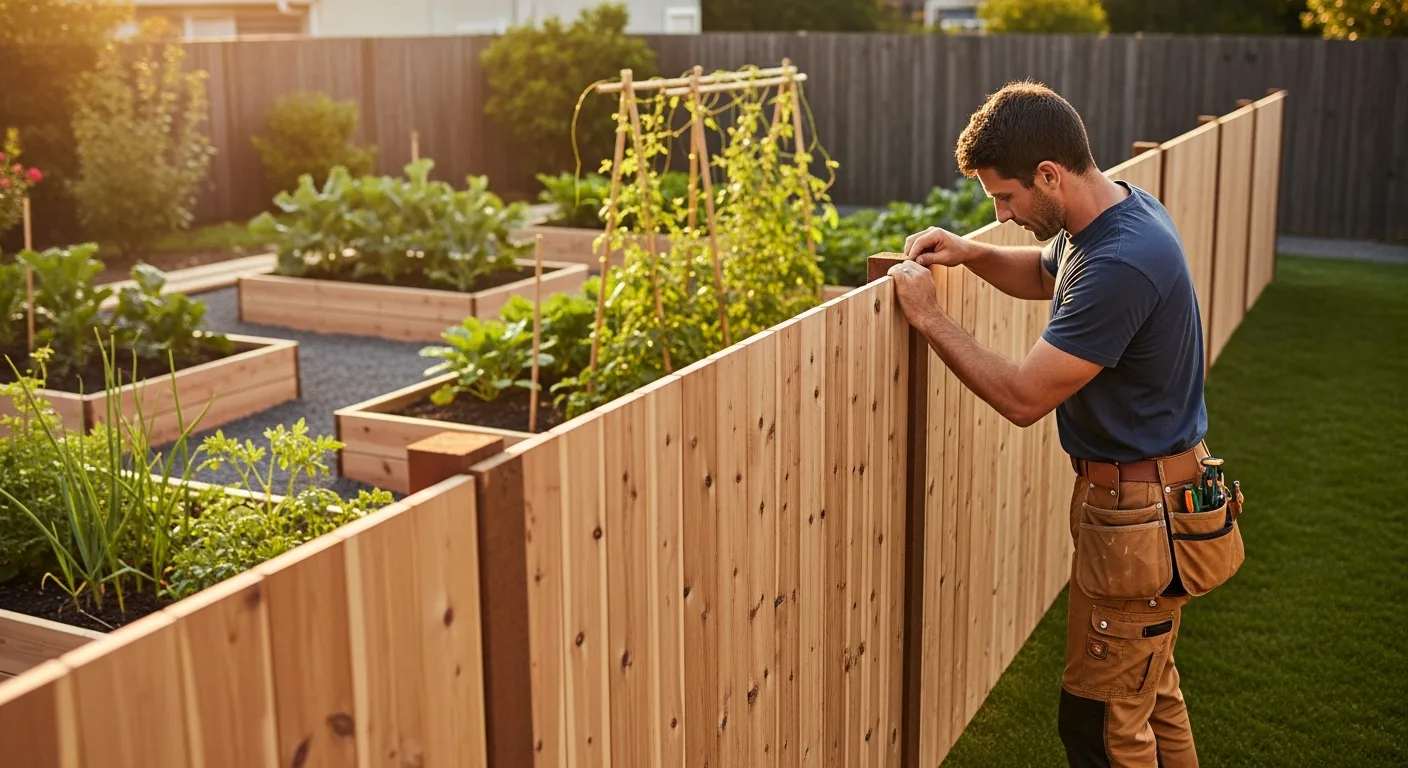
Building a fence isn’t just about property lines; it’s about a man securing his domain. The first decision he faces is the choice of material. Cedar is a top-tier option because it naturally resists rot and insects without the need for heavy chemical treatments. While it carries a higher upfront cost, its longevity makes it a smart investment for a permanent structure.
Alternatively, pressure-treated pine is the workhorse of the fencing world. It is affordable and readily available at any local hardware store. However, he must ensure the wood is rated for ground contact if it will touch the soil. When selecting lumber, he should consider the same principles used for choosing the best wood for outdoor furniture to ensure the structure survives the elements for years to come.
Planning and Layout: The Foundation of a Straight Fence
A fence is only as good as its layout. Before a man picks up a shovel, he must mark his boundaries. Using batter boards and masonry string is the most effective way to ensure the line stays perfectly straight. He should drive stakes into the ground at the corners and run the string tight between them.
- Check for Utilities: He must call 811 before digging to ensure he doesn’t hit a gas or water line.
- Local Codes: He should verify the maximum height allowed in his municipality; most residential areas cap garden fences at 4 or 6 feet.
- Post Spacing: Standard spacing is 6 to 8 feet. Keeping the distance consistent makes installing the rails much easier.
Setting the Posts: The Most Critical Step
The posts are the backbone of the entire system. If they lean, the fence fails. A man should dig his post holes at least one-third the height of the post. In colder climates, he must dig below the frost line to prevent the ground from heaving the posts out of the earth during winter.
For maximum stability, using quick-set concrete is recommended. He should pour about 6 inches of gravel at the bottom of the hole first to allow for drainage, then set the post and pour the concrete. He must use a level on two adjacent sides of the post to ensure it is perfectly vertical before the concrete hardens. Once the corner and end posts are set, he can run a string line between them to align the remaining line posts with precision.
Installing Rails and Pickets
Once the concrete has cured for at least 24 hours, it is time to attach the horizontal rails. For a standard 6-foot fence, three rails are ideal: one at the top, one in the middle, and one at the bottom. He should use galvanized screws rather than nails, as screws provide superior grip and won’t pull out as the wood expands and contracts with the weather.
When it comes to the pickets, he has several style options. The dog-ear style is classic and easy to install, while a shadowbox design offers privacy while still allowing airflow. If the goal is specifically to keep out smaller pests or birds, he might also look into bird netting for garden protection as a secondary layer behind the pickets to create an impenetrable barrier for his crops.
Maintenance and Long-Term Protection
A DIY garden fence requires maintenance to stay functional. He should apply a high-quality UV-resistant stain or sealant within a few weeks of installation. This prevents the wood from turning gray and cracking under the sun’s intensity. Every two years, he should inspect the posts for any signs of movement or rot at the ground level.
If he notices a picket has warped, he should replace it immediately to maintain the structural integrity of the section. Keeping vegetation trimmed away from the base of the fence also helps prevent moisture buildup, which is the primary cause of premature wood failure.
Frequently Asked Questions
What is the cheapest material for a DIY garden fence?
Pressure-treated pine is generally the most cost-effective wood option. For a more temporary or rustic look, a man can use reclaimed pallets or wire mesh with wooden stakes, which significantly reduces the material cost.
How deep should garden fence posts be?
Posts should be buried at least 2 feet deep for a standard 6-foot fence. A good rule of thumb is to bury one-third of the total post length to ensure it can withstand wind loads and the weight of the pickets.
Do I need concrete for a garden fence?
While not strictly necessary for short decorative fences, concrete is highly recommended for any fence over 4 feet tall. It provides the lateral stability needed to prevent the fence from leaning over time.
Can I build a fence on a slope?
Yes, a man can use either the “stepped” method, where each section is level but sits higher or lower than the next, or the “racked” method, where the rails follow the angle of the ground. Stepping is usually easier for DIYers using pre-built panels.