Transforming your home into a personal spa has never been easier, with DIY treatments offering convenience and cost savings. From mastering gel polish removal to achieving smooth skin with at-home Brazilian waxing and brightening your smile with teeth whitening, this guide covers essential techniques for a complete pampering session. Whether you’re a beauty novice or a seasoned DIY enthusiast, these methods empower you to maintain salon-quality results without leaving your house. Let’s dive into the world of DIY spa treatments and unlock the secrets to professional-looking care from the comfort of your home.
To remove gel polish at home, soak cotton balls in acetone, place them on your nails, wrap with foil for 10-15 minutes, then gently scrape off the softened polish with an orange stick. Always moisturize afterward to prevent dryness.
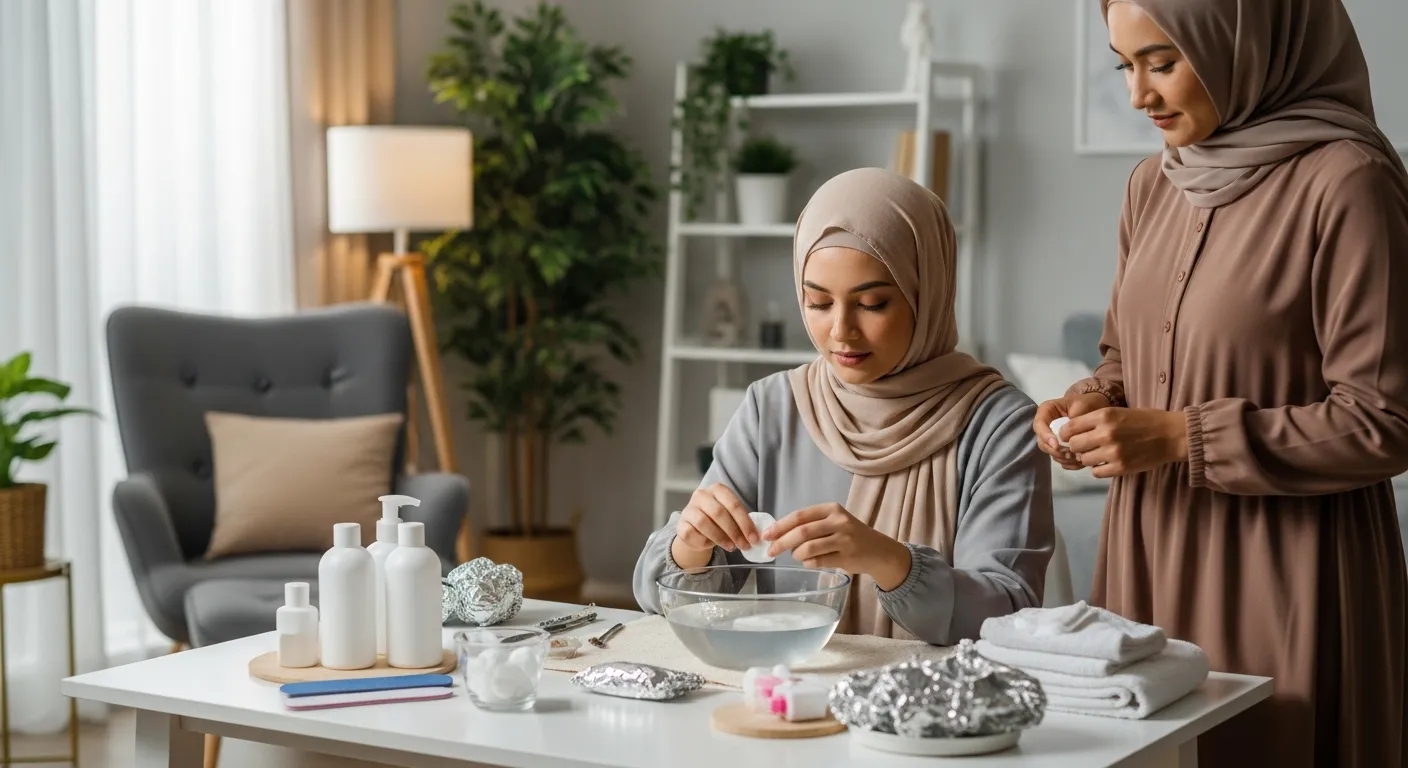
How to Remove Gel Polish at Home Safely
Removing gel polish at home requires patience and the right tools to avoid damaging your natural nails. Start by gathering acetone, cotton balls, aluminum foil, an orange stick, and a nail file. First, gently file the top layer of the gel polish to break the seal, which helps the acetone penetrate more effectively. Next, soak cotton balls in acetone and place one on each nail, then wrap each finger with a small piece of foil to hold the cotton in place. Wait 10-15 minutes for the polish to soften, then use the orange stick to gently scrape off the residue. Finish by washing your hands and applying cuticle oil or moisturizer to hydrate your nails and skin. This method is effective and minimizes the risk of nail thinning or breakage when done correctly.
- Gather supplies: acetone, cotton balls, foil, orange stick, nail file
- File the top layer of polish to break the seal
- Soak cotton in acetone and wrap nails with foil
- Wait 10-15 minutes, then scrape off softened polish
- Moisturize nails and cuticles after removal
At-Home Brazilian Waxing Techniques
An at-home Brazilian wax can be intimidating, but with proper preparation and technique, it’s achievable for smooth, long-lasting results. Begin by exfoliating the area 24 hours before waxing to remove dead skin and prevent ingrown hairs. Ensure your hair is about a quarter-inch long for optimal wax adhesion. Heat the wax according to package instructions, testing a small amount on your wrist to avoid burns. Apply the wax in the direction of hair growth, then quickly pull the strip against the growth direction for effective removal. After waxing, soothe the skin with aloe vera or a post-wax lotion to reduce redness and irritation. Remember to maintain a clean environment and consider practicing on smaller areas first if you’re new to waxing. For more tips on home safety and preparation, check out our home emergency preparedness guide.
- Exfoliate the area 24 hours before waxing
- Trim hair to a quarter-inch length if necessary
- Heat wax and test temperature on skin
- Apply wax in direction of hair growth, pull against it
- Soothe skin with aloe vera post-wax
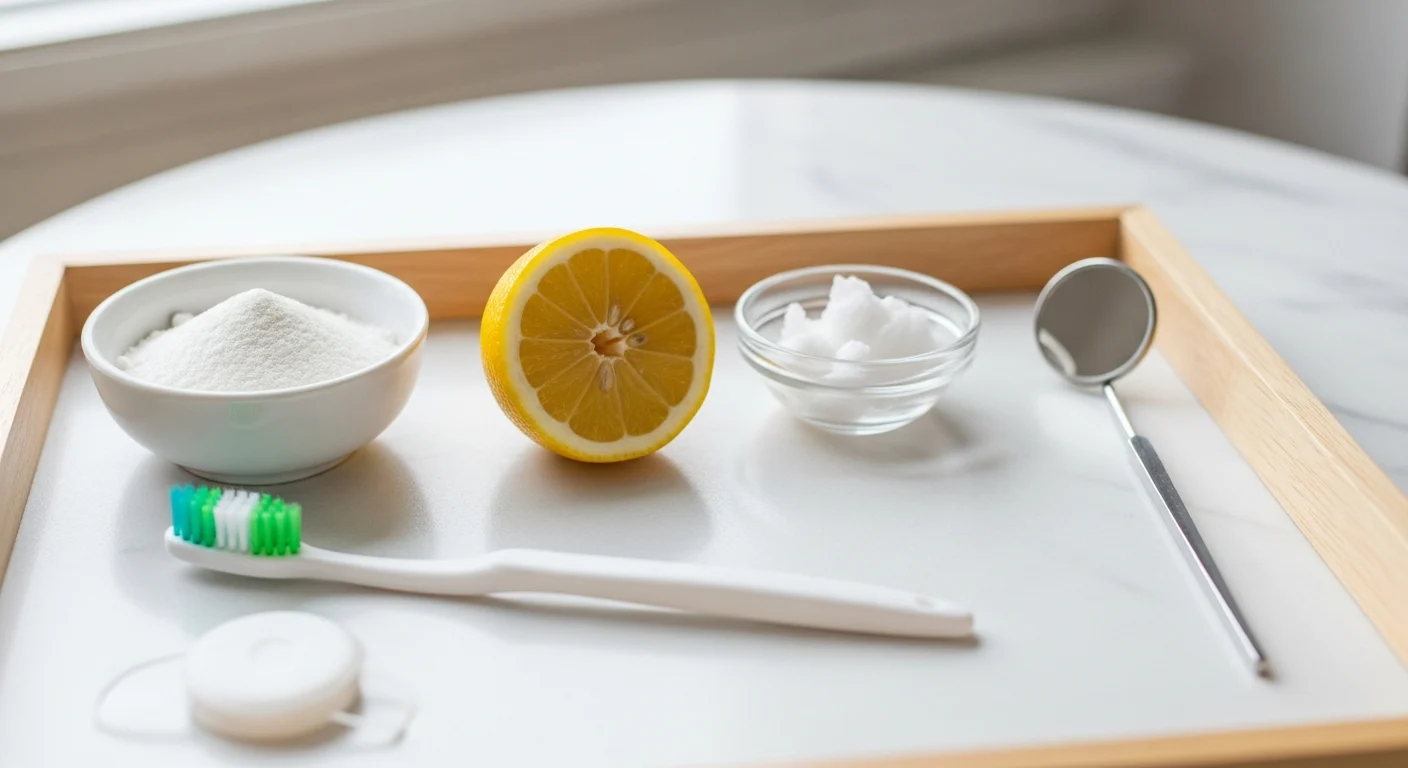
Teeth Whitening Methods for a Brighter Smile
Teeth whitening at home offers various options, from over-the-counter products to natural remedies, allowing you to achieve a brighter smile without professional visits. Popular methods include whitening strips, trays with gel, and toothpaste with baking soda or hydrogen peroxide. For a more natural approach, consider using activated charcoal or oil pulling with coconut oil. It’s essential to follow product instructions carefully to avoid enamel damage or gum irritation. Consistency is key—most treatments require regular use over several weeks for noticeable results. Additionally, maintaining good oral hygiene by brushing twice daily and avoiding stain-causing foods like coffee and red wine can prolong whitening effects. Explore our teeth whitening home remedies for detailed techniques and tartar removal tips.
| Method | Effectiveness | Time to Results | Cost |
|---|---|---|---|
| Whitening Strips | High | 1-2 weeks | $$ |
| Whitening Trays | Very High | 2-4 weeks | $$$ |
| Natural Remedies | Moderate | 4+ weeks | $ |
| Whitening Toothpaste | Low to Moderate | 4+ weeks | $ |
Essential Tools for DIY Spa Treatments
Having the right tools is crucial for successful DIY spa treatments, ensuring safety and effectiveness. For gel polish removal, invest in high-quality acetone, lint-free cotton pads, and a gentle nail file. Waxing requires a reliable wax warmer, applicators, and post-wax care products like soothing lotions. Teeth whitening tools include whitening kits, trays, and soft-bristled toothbrushes. Don’t forget basics like towels, mirrors, and good lighting to enhance your experience. Organizing these items in a dedicated space can make your spa sessions more efficient and enjoyable. If you’re setting up a home gym or other personal areas, our home gym design guide offers insights on layout and storage that can apply to spa setups too.
- Gel removal: acetone, cotton pads, nail file, orange stick
- Waxing: wax warmer, applicators, post-wax lotion
- Teeth whitening: whitening kits, trays, toothbrush
- General: towels, mirrors, lighting, storage containers
Safety Tips and Common Mistakes to Avoid
Safety should always be a priority in DIY spa treatments to prevent injuries and achieve the best results. For gel polish removal, avoid picking or peeling the polish off, as this can damage your natural nails. In waxing, never wax over broken skin or moles, and always do a patch test to check for allergic reactions. With teeth whitening, overuse of products can lead to tooth sensitivity or gum irritation, so stick to recommended frequencies. Keep all tools clean and sanitized to prevent infections, and work in a well-ventilated area when using chemicals like acetone. If you encounter issues like skin burns or severe discomfort, seek professional help immediately. For more on troubleshooting common home problems, refer to our AC troubleshooting guide, which emphasizes careful problem-solving.
- Don’t peel gel polish—soak and scrape gently
- Avoid waxing on irritated skin or doing patch tests
- Follow whitening product instructions to prevent sensitivity
- Sanitize tools and maintain a clean workspace
- Seek professional help for severe reactions
FAQs About DIY Spa Treatments
How long does it take to remove gel polish at home?
Removing gel polish at home typically takes 10-15 minutes of soaking with acetone, plus additional time for preparation and cleanup, totaling about 20-30 minutes per session.
Is at-home Brazilian waxing painful?
At-home Brazilian waxing can be uncomfortable, especially for beginners, but pain decreases with practice and proper technique. Using pre-wax numbing creams and pulling strips quickly can help minimize discomfort.
What are the best natural teeth whitening methods?
Effective natural teeth whitening methods include brushing with baking soda, using activated charcoal, and oil pulling with coconut oil. These options are gentle but may take longer to show results compared to commercial products.
Can I reuse wax for multiple sessions?
It’s not recommended to reuse wax, as it can harbor bacteria and lose effectiveness. Always use fresh wax for each waxing session to ensure hygiene and optimal results.
How often should I whiten my teeth at home?
For most over-the-counter whitening products, use them as directed, typically once daily for 1-2 weeks, then maintain with occasional touch-ups. Avoid over-whitening to prevent enamel damage.
What should I do if gel removal damages my nails?
If gel removal causes nail damage, such as thinning or breakage, stop treatments immediately, moisturize with cuticle oil, and give your nails time to recover. Consider consulting a nail technician for professional advice.
Are there any risks with DIY waxing?
Risks of DIY waxing include skin burns, ingrown hairs, and infections. To reduce risks, follow safety guidelines, use proper tools, and consider starting with less sensitive areas if you’re inexperienced.