The Modern Approach to At Home Gel Nails
Achieving a professional finish with at home gel nails has become increasingly accessible for the modern man who values a polished appearance. Whether he is preparing for a high-stakes business meeting or simply wants to maintain his grooming standards, the durability and shine of gel polish offer a superior alternative to traditional lacquers. In 2026, the technology behind LED lamps and gel formulas has advanced, making the process faster and more reliable than ever before.
Essential Equipment for the Home Setup
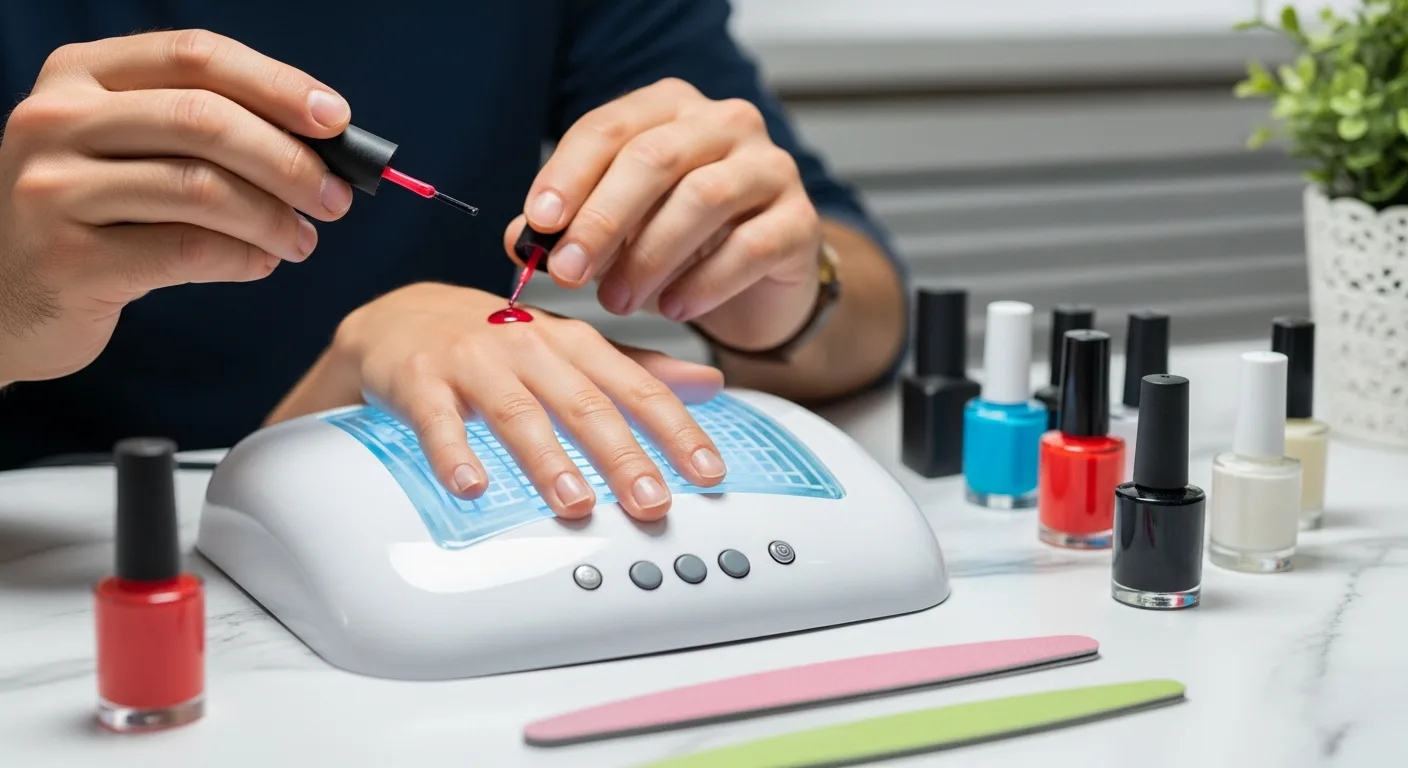
To start, he must invest in a few key pieces of equipment. A high-quality LED or UV lamp is the cornerstone of the process, as it is responsible for “curing” the gel—a chemical reaction that hardens the polish into a chip-resistant layer. He should also look for:
- Base Coat: Essential for protecting the natural nail and ensuring the color sticks.
- Gel Polish: Available in various shades, from neutral tones to bold finishes.
- Top Coat: Provides the final high-gloss seal and prevents scratches.
- Cleanser: Usually an isopropyl alcohol solution to remove the tacky layer after curing.
Integrating these tools into a regular routine allows him to achieve results that rival a professional studio, much like how he might manage other at-home beauty treatments to maintain his overall look and confidence.
Preparation: The Key to Longevity
The most common reason for gel failure is poor preparation. He should begin by pushing back his cuticles and gently buffing the surface of each nail with a fine-grit buffer. Removing the natural oils is critical; if the nail is too smooth or oily, the gel will lift within days. He can use a lint-free wipe soaked in alcohol to ensure the surface is pristine. Following a comprehensive safety guide for DIY procedures ensures that he does not over-buff, which could thin the nail plate and cause sensitivity over time.
The Application and Curing Process
Precision is vital during application. He should apply thin, even layers rather than one thick coat. A thick layer may not cure properly in the center, leading to a “bubbling” effect or premature peeling. After applying the base coat, he must cure it under the lamp for the time specified by the manufacturer—typically 30 to 60 seconds for modern LED lamps.
When applying the color, he should be careful to avoid the skin and cuticles. If gel touches the skin and is cured, it creates an entry point for moisture and oils, which will cause the entire manicure to lift. He should also “cap the edge” by running the brush along the very tip of the nail to seal the polish and prevent tip-wear and chipping.
Maintenance and Safe Removal Techniques
Removing at home gel nails requires patience and the right technique to avoid damage. He should never scrape or peel the polish off, as this forcibly tears away the top layers of the natural nail. Instead, he should soak cotton pads in pure acetone, place them over the nails, and wrap them in aluminum foil or use specialized clips.
After about 10 to 15 minutes, the gel should appear lifted or “crumbled.” It can then be gently pushed off with a wooden cuticle stick. This careful approach preserves the health and structural integrity of his nails, ensuring they remain strong for future applications. Regular application of cuticle oil after removal will keep the surrounding skin hydrated and healthy.
Frequently Asked Questions
How long do at home gel nails typically last?
When applied correctly with proper preparation, a gel manicure can last between two to three weeks without chipping or losing its high-gloss luster.
Can I use a regular desk lamp to cure gel polish?
No, gel polish requires specific wavelengths of UV or LED light to trigger the polymerization process. A standard light bulb will not harden the gel, and the polish will remain wet.
Why does my gel polish feel sticky even after curing?
Most gel polishes leave a “tacky” or oxygen-inhibited layer on top after curing. This is completely normal. He simply needs to wipe it away with an alcohol-soaked, lint-free wipe after the final top coat has been cured to reveal the hard, shiny finish.
Is it necessary to buff the nails before application?
Yes, gentle buffing removes the natural shine and oils from the nail, creating a slightly textured surface that allows the base coat to bond more effectively. Without this step, the gel is much more likely to peel off in one piece.