Home inspections are a critical step in buying or maintaining a property, but many homeowners and buyers don’t realize how far technology has advanced. Thermal imaging, or thermal camera home inspection, is revolutionizing the way inspectors detect hidden issues like moisture, insulation gaps, and electrical problems. However, even with these high-tech tools, home inspectors have strict limits on what they can and cannot do. Understanding these boundaries—such as what are home inspectors not allowed to do—can help you set realistic expectations and avoid surprises. In this guide, we’ll explore the benefits of thermal imaging, common tricks to pass home inspection, and what to expect from a home inspection to ensure you’re fully prepared.
Thermal camera home inspection uses infrared technology to detect hidden issues like moisture, insulation flaws, and electrical hotspots, providing a non-invasive way to identify problems. However, home inspectors are limited by law and standards—they can’t perform invasive tests, give repair estimates, or guarantee future conditions. To prepare, address visible issues, ensure access to key areas, and understand the inspection scope.
What Is Thermal Imaging in Home Inspections?
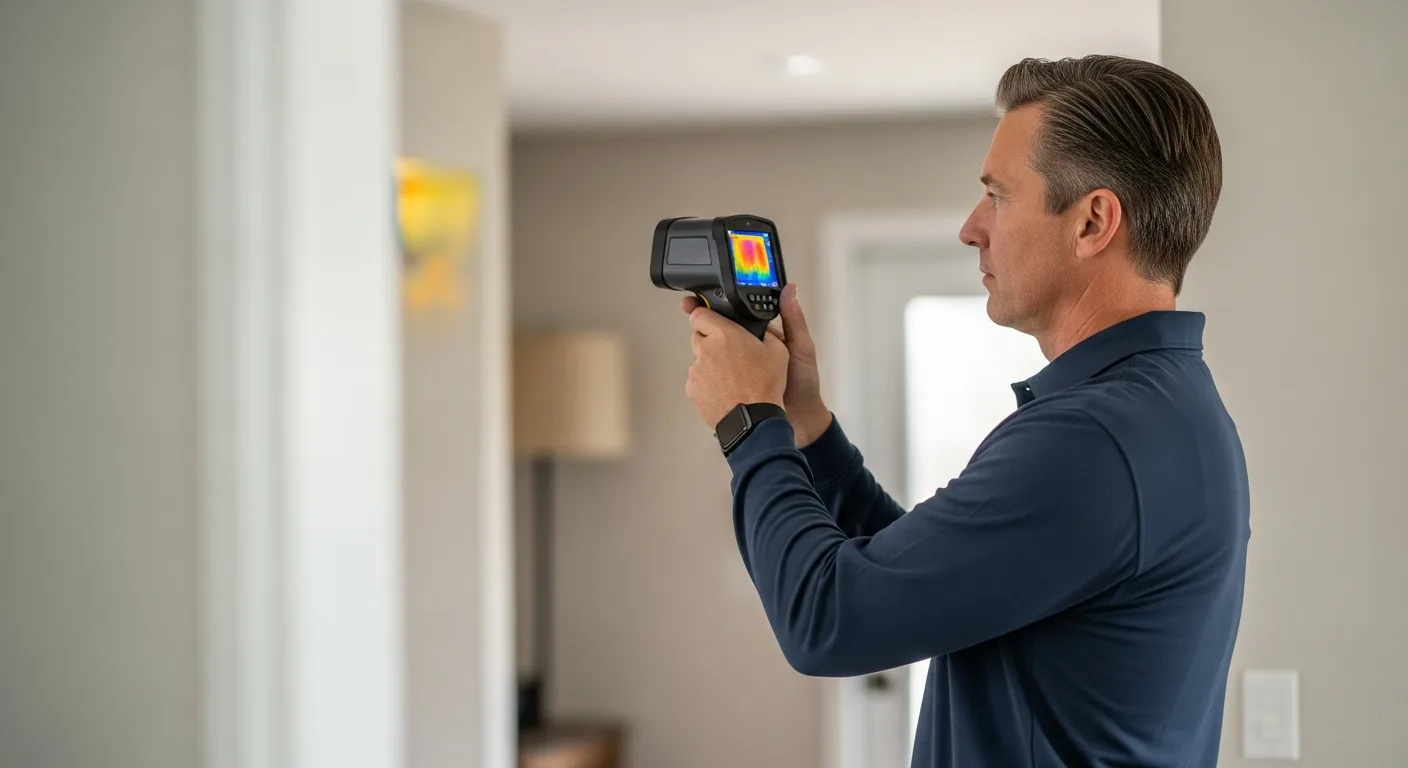
Thermal imaging, often referred to as infrared scanning, involves using a thermal camera to capture heat signatures in a home. These cameras detect temperature variations that are invisible to the naked eye, helping inspectors identify potential problems without causing damage. For example, a cold spot might indicate missing insulation, while a hot spot could signal an electrical issue. This technology is particularly useful for spotting moisture intrusion, which can lead to mold or structural damage if left unchecked. By incorporating thermal imaging, inspectors can provide a more comprehensive assessment, going beyond the surface to uncover issues that traditional methods might miss.
Benefits of Using a Thermal Camera for Home Inspection
Thermal cameras offer numerous advantages in home inspections, making them a valuable tool for both inspectors and homeowners. Here are some key benefits:
- Non-Invasive Detection: Thermal imaging allows inspectors to identify problems without tearing into walls or ceilings, preserving the home’s integrity.
- Early Problem Identification: By catching issues like water leaks or electrical faults early, homeowners can prevent costly repairs down the line.
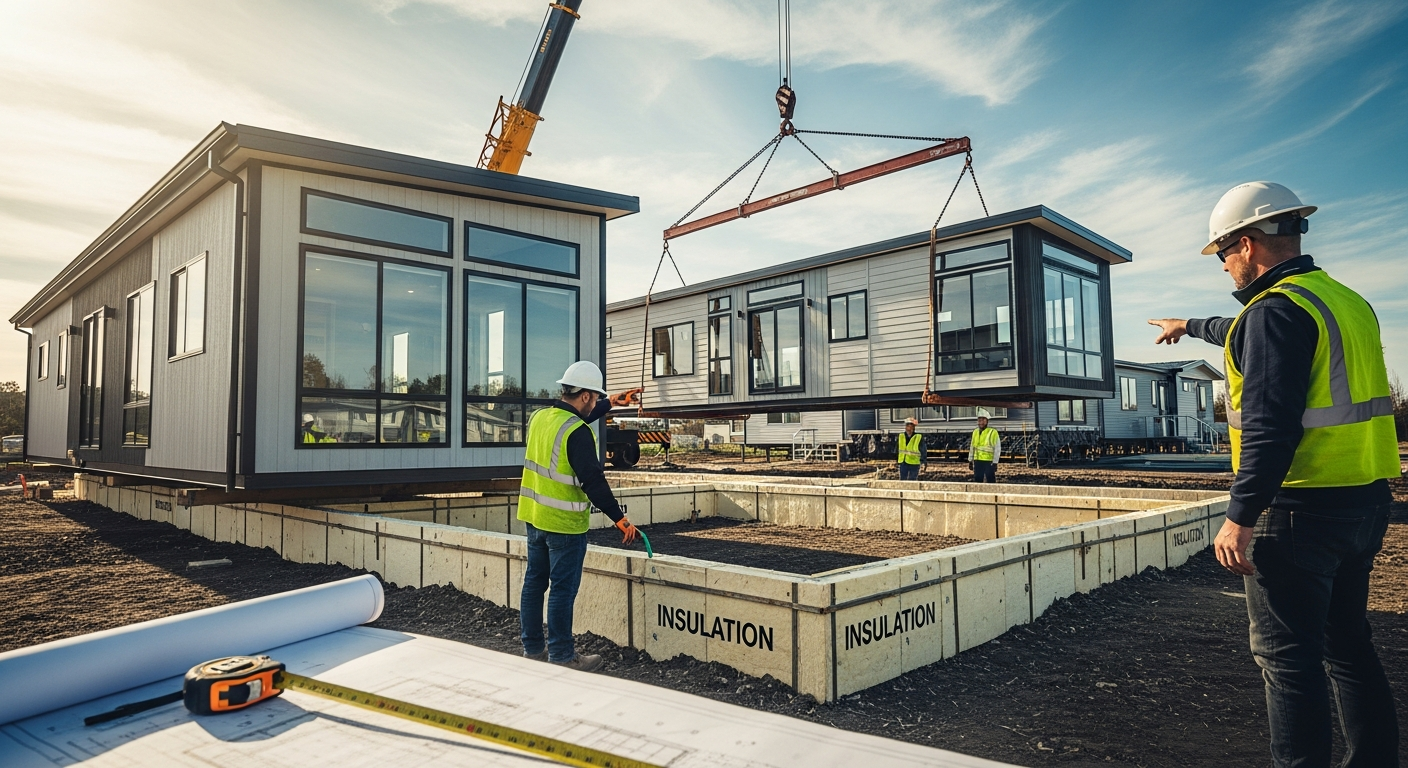
- Energy Efficiency Insights: Inspectors can pinpoint areas of heat loss or poor insulation, helping homeowners improve energy efficiency and reduce utility bills.
- Enhanced Safety: Detecting overheating electrical components can prevent fire hazards, ensuring a safer living environment.
For more on home systems and maintenance, check out our guide on understanding home HVAC components.
What Are Home Inspectors Not Allowed to Do?
While home inspectors use advanced tools like thermal cameras, they operate under strict legal and professional limits. Understanding these boundaries is crucial to avoid misunderstandings. Here’s a list of common activities inspectors are typically not allowed to do:
- Perform Invasive Tests: Inspectors can’t tear into walls, floors, or ceilings to inspect hidden areas unless specifically authorized.
- Provide Repair Estimates: They can identify issues but aren’t licensed to give cost estimates for repairs—that’s a job for contractors.
- Guarantee Future Conditions: Inspections are based on the current state; inspectors can’t predict if a problem will worsen over time.
- Move Heavy Furniture or Personal Items: They’re limited to accessible areas and won’t relocate belongings to inspect behind them.
- Offer Legal or Insurance Advice: Inspectors report findings but don’t advise on legal matters or insurance claims.
These limits help ensure inspections remain objective and within the inspector’s expertise. For insights into state-specific regulations, refer to our article on North Carolina home defense laws, which touches on property standards.
Tricks to Pass a Home Inspection
Preparing for a home inspection can make the process smoother and increase the chances of a favorable report. While there are no guaranteed “tricks,” these practical steps can help address common issues before the inspector arrives:
- Clean and Declutter: Ensure all areas, especially basements, attics, and utility rooms, are accessible and free of obstructions.
- Fix Minor Repairs: Address small issues like leaky faucets, loose handrails, or cracked windows to show the home is well-maintained.
- Check Safety Features: Test smoke detectors, carbon monoxide alarms, and GFCI outlets to ensure they’re functioning properly.
- Provide Documentation: Have records of recent repairs, maintenance, or warranties available for the inspector to review.
Remember, the goal is to present the home in its best light, not to hide problems. For more on home maintenance, explore our master home maintenance checklists.
What to Expect from a Home Inspection
A standard home inspection covers multiple systems and components, providing a detailed snapshot of the property’s condition. Here’s a breakdown of what typically happens during an inspection:
| Area Inspected | Common Checks | Tools Used |
|---|---|---|
| Exterior | Roof, siding, drainage, foundation | Ladder, moisture meter |
| Interior | Walls, ceilings, floors, windows | Thermal camera, flashlight |
| Electrical | Wiring, panels, outlets | Voltage tester, thermal camera |
| Plumbing | Pipes, fixtures, water heater | Pressure gauge, inspection mirror |
| HVAC | Furnace, AC, ductwork | Thermometer, thermal camera |
The inspection usually takes 2-4 hours, depending on the home’s size and age. Afterward, you’ll receive a written report detailing findings, often with photos or thermal images. For specialized inspections, such as for radon, see our guide on radon home inspection.
How Thermal Imaging Complements Traditional Inspections
Thermal imaging doesn’t replace traditional inspection methods but enhances them by providing additional data. Here’s how it fits into the overall process:
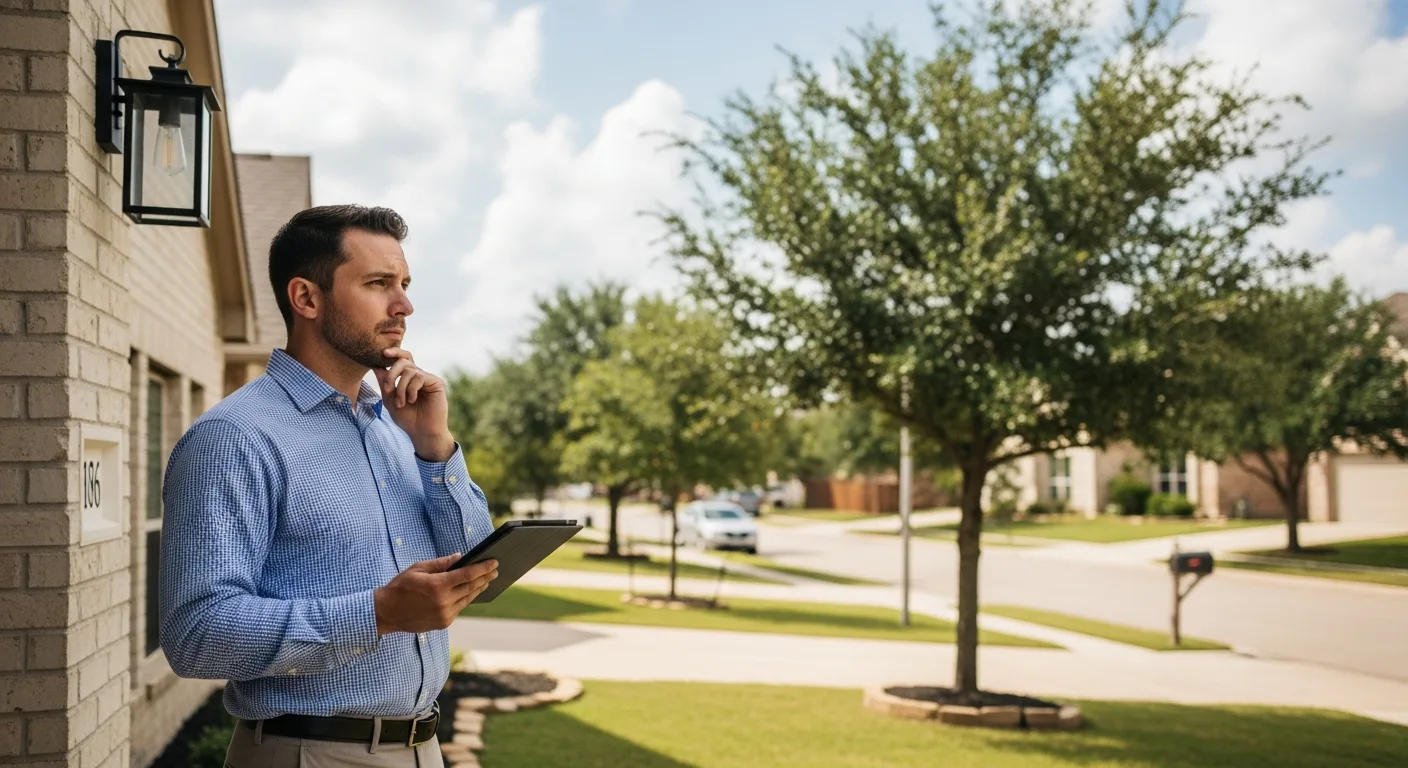
- Initial Visual Inspection: The inspector starts with a walkthrough, noting visible issues like cracks or stains.
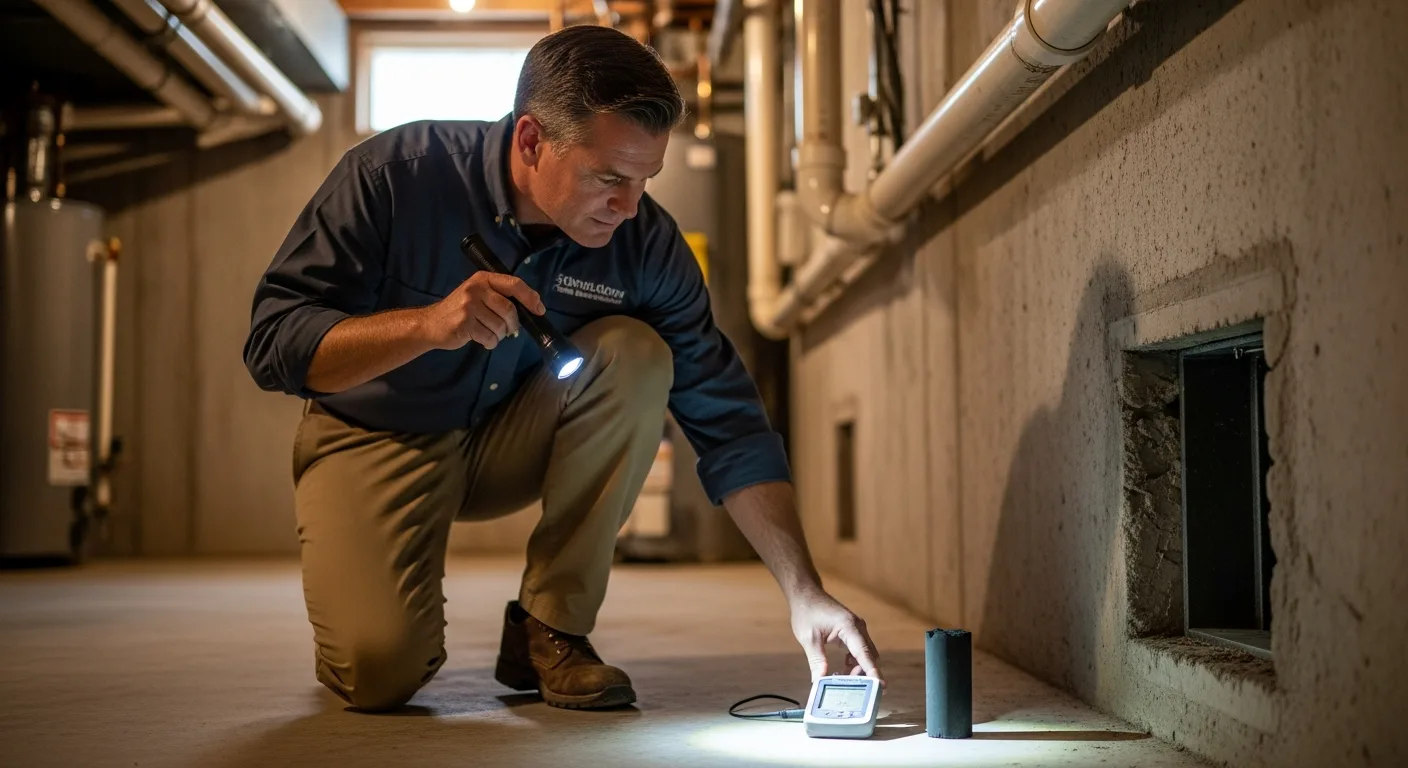
- Thermal Scanning: Using a thermal camera, they scan areas prone to hidden problems, such as behind walls or in attics.
- Data Analysis: Temperature anomalies are analyzed to identify potential causes, like water intrusion or electrical faults.
- Integration with Report: Findings from thermal imaging are included in the final report, often with annotated images for clarity.
This combined approach ensures a thorough assessment, helping buyers and homeowners make informed decisions. For tips on preparing your home, including exterior care, read about power washing a home.
FAQs About Thermal Camera Home Inspections
Can a thermal camera detect mold?
Thermal cameras can’t directly detect mold, but they can identify moisture sources that promote mold growth. By spotting cold or wet areas, inspectors can recommend further testing, such as air quality checks, to confirm mold presence.
Is thermal imaging included in all home inspections?
No, thermal imaging is often an add-on service. While many inspectors offer it, it’s not standard in basic inspections. Always ask if it’s included or available for an extra fee when hiring an inspector.
How accurate are thermal cameras for home inspections?
Thermal cameras are highly accurate for detecting temperature differences, but they require proper training to interpret results. Factors like ambient temperature and surface materials can affect readings, so experienced inspectors use them as part of a broader assessment.
What should I do if the inspection reveals problems?
If issues are found, consult with a specialist, such as an electrician or plumber, for repair estimates. Use the inspection report to negotiate with sellers or plan maintenance. For legal concerns, like in nursing homes, see our resource on nursing home wrongful death attorney.
Are there any risks to using thermal imaging?
Thermal imaging is non-invasive and safe, with no radiation or damage to the home. The main risk is misinterpretation of data, which is why hiring a certified inspector is crucial.
How much does a thermal imaging inspection cost?
Costs vary by region and home size, typically ranging from $50 to $200 as an add-on to a standard inspection. It’s often worth the investment for the added insight into hidden issues.
Can I use a thermal camera myself for a home inspection?
While consumer thermal cameras are available, professional inspections are recommended. Inspectors have training to interpret results accurately and understand building systems, reducing the risk of missing or misdiagnosing problems.
What types of homes benefit most from thermal imaging?
Older homes, properties with suspected moisture issues, and energy-inefficient buildings benefit greatly. Thermal imaging is also useful for new constructions to verify insulation and system installations.